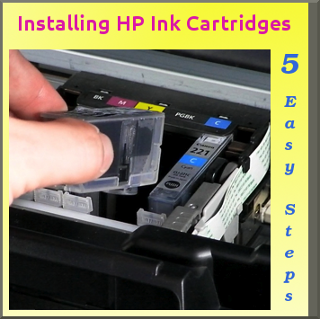
Once you have bought your HP ink cartridge and assuming that you may not have replaced the cartridges recently, here are some useful tips on the installation of HP ink cartridges.
- Removing and installation of the Printer Cartridge
 Open the Printer. Make sure the printer is switched on! If the printer is not switched on when the HP ink cartridge access-door is raised, the printer will not release the cartridges to allow the cartridge change to take place. If the ink cartridges are not docked properly on the right hand side then it’s possible you may damage the printer if try to remove them. If the scraper bar is blacking the cartridges you can push the scraper bar very gently and then press the power button. So, when you have turned on the power lift the printer cover and wait until the ink cartridges move to the right hand side of the printer.
 - Removing the used ink cartridges.
Press down very gently on the top of the cartridge catch. The pull out the bottom of the catch so it unhooks and then slide out the ink cartridge. - When to use a cartridge protector.
The cartridge protector is not just there to protect the ink cartridge in transit it. It's a very useful for removing a working HP ink cartridge such as the photo black. This helps with the temporary storage of the HP photo ink cartridge. - Installing the new HP ink cartridges.
First of all remove the protective tape, don't touch the copper strip - this may affect the cartridge recognition - if the ink cartridge is a compatible or non-OEM - it will be in a plastic cover. When you remove the plastic cover it can be advantageous to gently wipe the copper area with a soft cloth to remove any static build up caused by the plastic bag. This can sometime also affect the printer's ability to recognise a compatible HP ink cartridge. - Cartridge contacts and Nozzles.
Make sure that you hold the ink cartridge so that the nozzles are facing down and that the contact is facing toward the printer. Gently slide the cartridge into its carrier. Hp cartridges marked with a triangle fit into the slot on the left and cartridges with a square or pentagons shape fit into the right hand slot in the carrier. Next, push the cartridge into the carrier until it makes a click sound and push down on the cartridge latch until it snaps shut.

No comments:
Post a Comment